SCOPTEL CentOS 6.X BootDisk Installation Guide
Introduction
CentOS Linux
The CentOS Linux distribution is a stable, predictable, manageable and reproducible platform derived from the sources of Red Hat Enterprise Linux (RHEL).
SCOPTEL
The SCOPTEL applications suite is a complete IP PBX management system used to manage the Asterisk open-source toolkit. SCOPTEL’s intuitive and comprehensive graphical interface takes full advantage of all the proven features of this platform. Recognized globally by VoIP professionals SCOPTEL brings the benefits of Asterisk and other evolving open standards while controlling costs. In addition to offering unparalleled ease of use SCOPTEL extends Asterisk’s functionalities to offer a complete unified communications system.
Previous versions of SCOPTEL were either based on CentOS versions 4 or 5
However these versions have limited lifecycle support and it was necessary for SCOPSERV International to Release an installation ISO based on CentOS version 6.X

As of 2016-10-25 the current version of SCOPTEL ISO is Version: 6 - Platform: CentOS 6.8 - 64 bit (x86_64)
Minimum Hardware Recommendations
Quad Core 64 bit CPU x86_64 architecture
4 GB RAM
60 GB Hard Drive or Virtual Machine Container
Where to Download the Installation
link: http://download.scopserv.com/iso/
Make sure you download the version 6 release
Installation Options:
Burn to DVD and boot to DVD drive on a standalone server
Copy ISO to USB key using Rufus and boot to USB on a standalone server
Install the ISO using a Virtual Machine Container
Boot Media Installation
Option 1 : DVD
Once you have downloaded the ISO file from the SCOPSERV website use your favourite software to burn the image to a bootable DVD
Attach a DVD drive to the target server
Edit the server’s BIOS to boot from DVD
Option 2 : USB
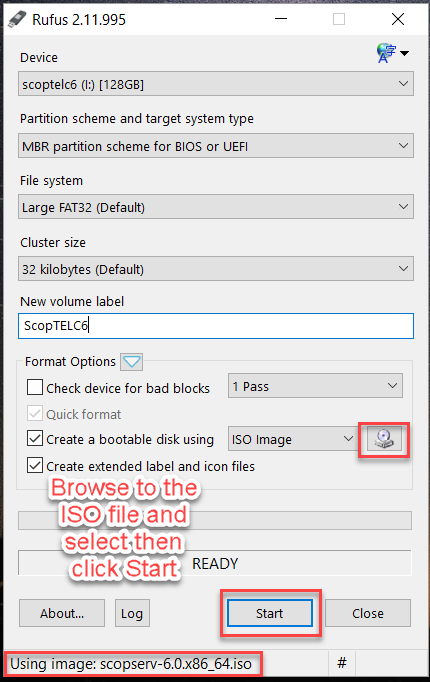
Once you have downloaded the ISO file from the SCOPSERV website use Rufus to make a bootable USB drive
Insert the USB drive into the target server
Edit the server’s BIOS to boot from USB
Option 3 : Virtual Machine
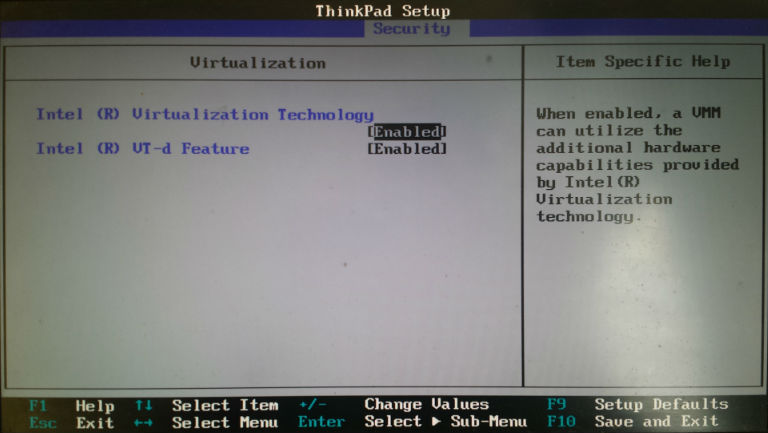
Once you have downloaded the ISO file from the SCOPSERV website edit the target server’s BIOS and ensure that Virtualization Options are enabled
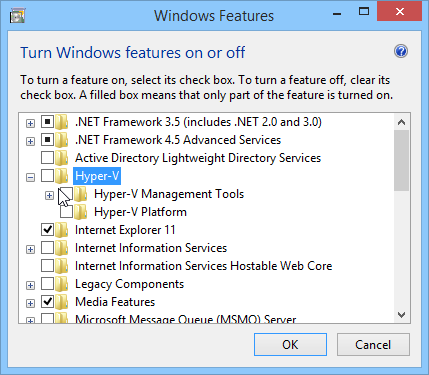
If you are not using Microsoft Hyper-V on the host you may have to disable Hyper-V in Windows Features
Check with your VM Vendor for documentation and support
SCOPTEL is known to work with Xen, VMWare, Hyper-V and VirtualBox
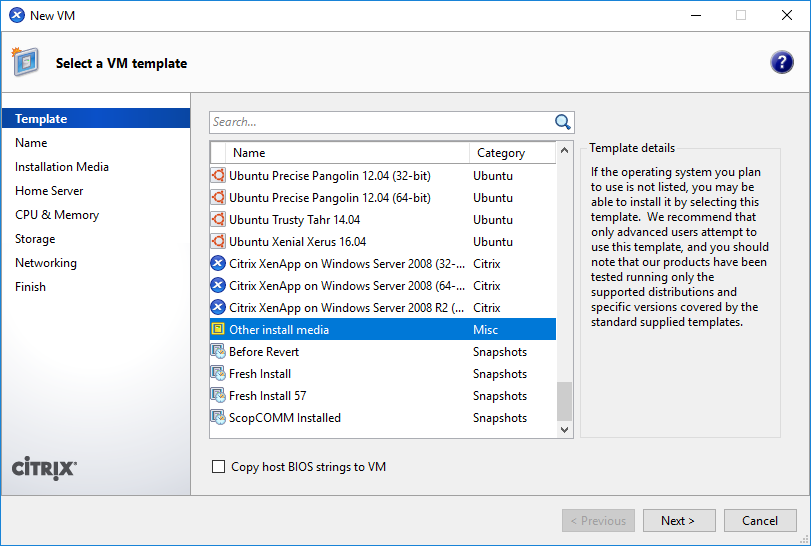
Xen Requirements
You must choose Other install media and select the SCOPSERV ISO location
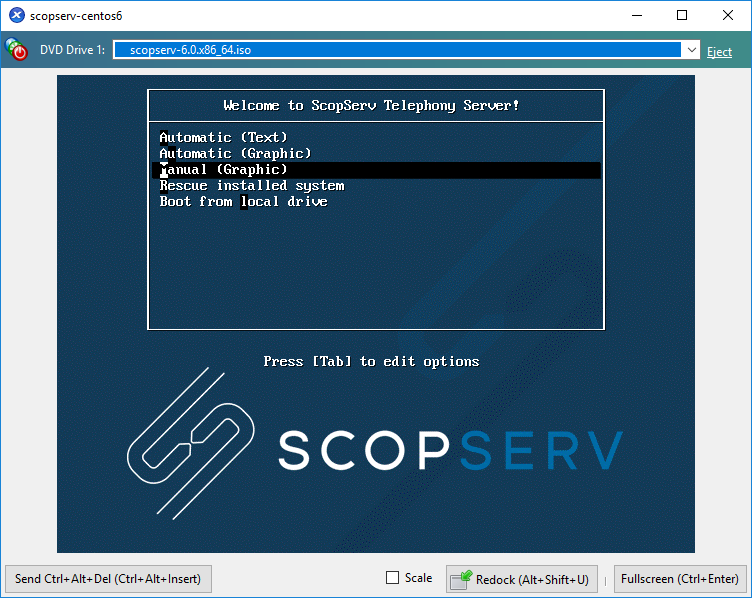
Automatic Installation method will not work in Xen, so you must use Manual (Graphic) Mode.
BEFORE YOU BEGIN!
Installing from the SCOPTEL C6 installation media will format and destroy all data on your existing drives!
If you are upgrading a previous SCOPTEL distribution you will need to ensure all data is backed up before proceeding.
Refer to the documentation available at https://blog.scopserv.com/2012/06/how-to-backup-and-restore-a-SCOPTEL-pbx/
The Putty and WinSCP method is the recommended method
Installation Procedure
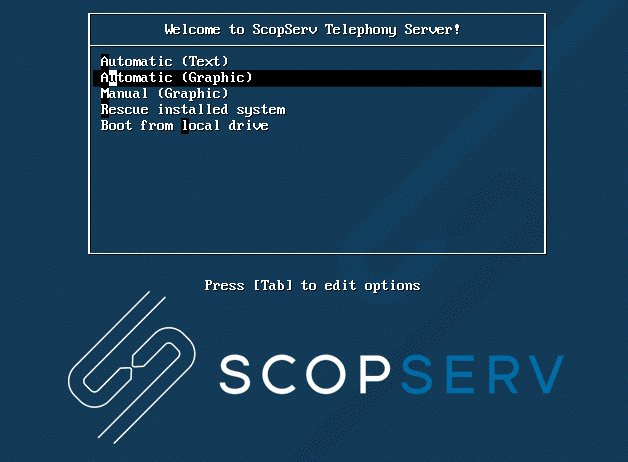
Once the ISO file has started booting choose the Manual (Graphic) mode and press Enter
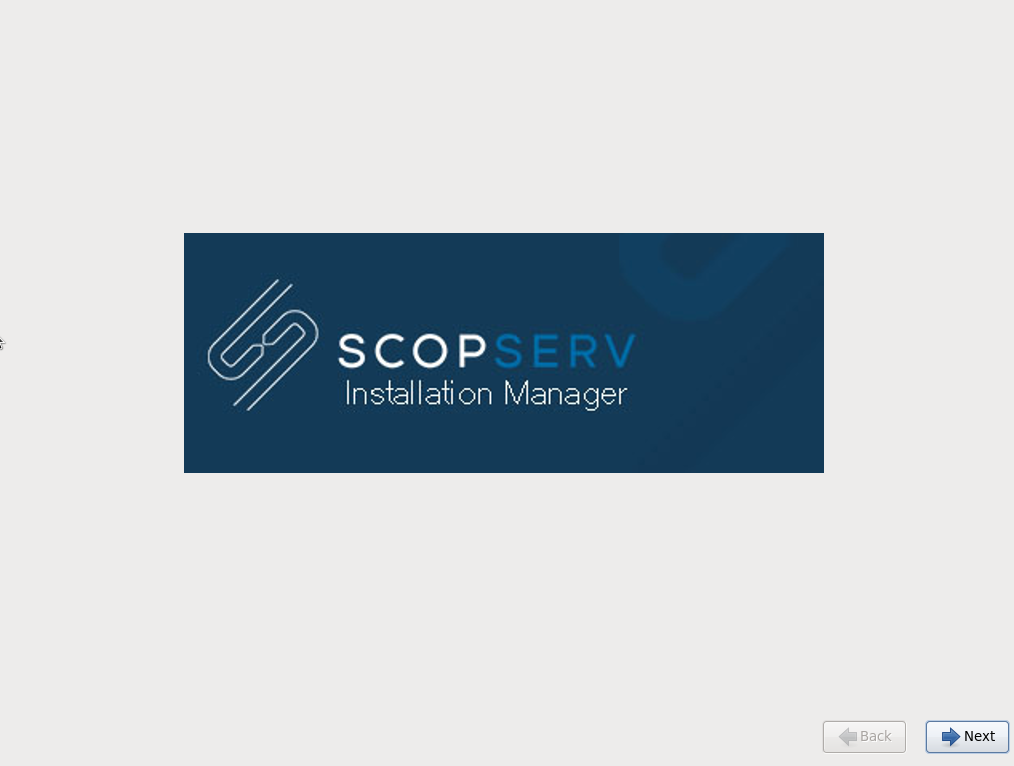
Click Next
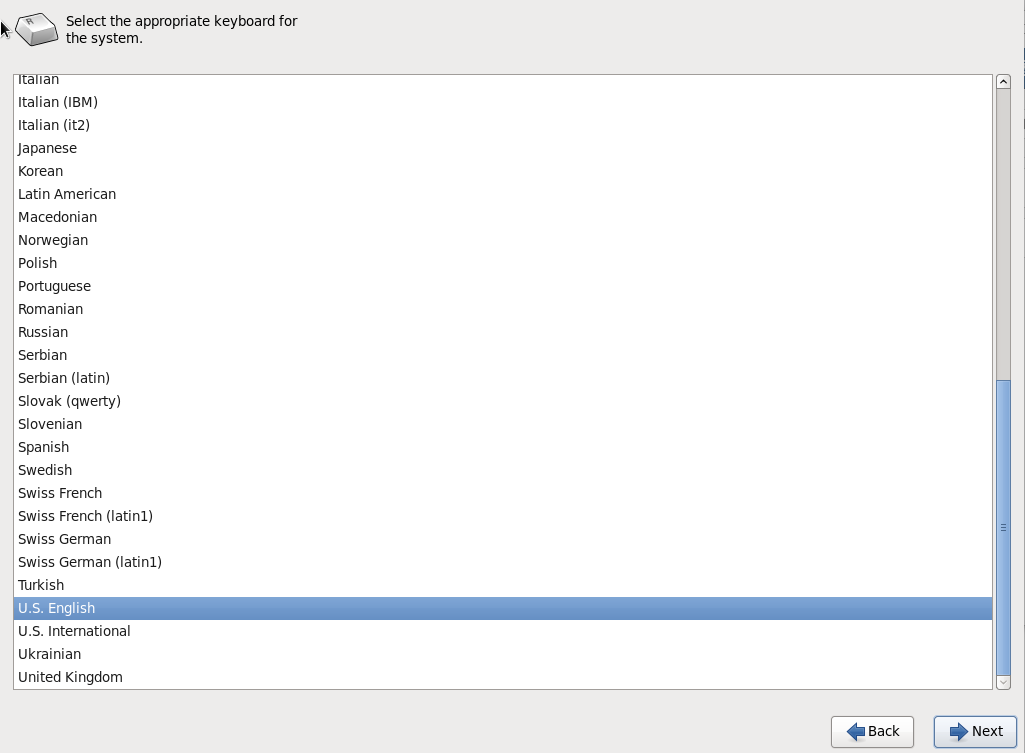
Select your keyboard and click Next
Choose Basic Storage Devices default
Or choose Specialized Storage Devices if you have customized requirements
Click Next

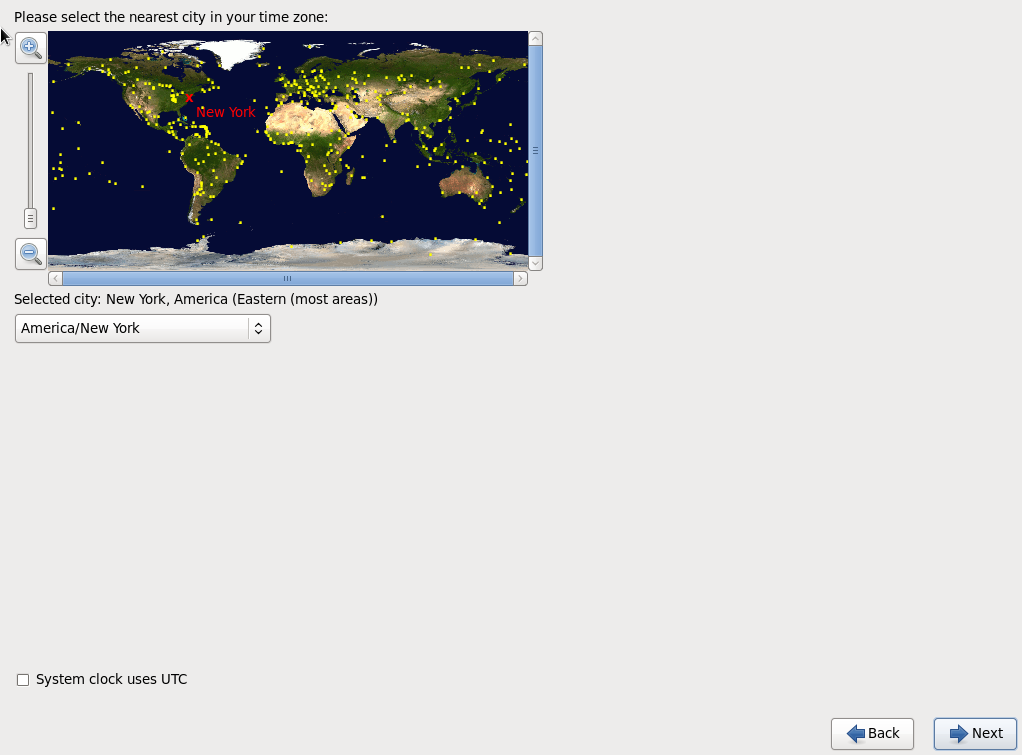
Choose your time zone
Click Next
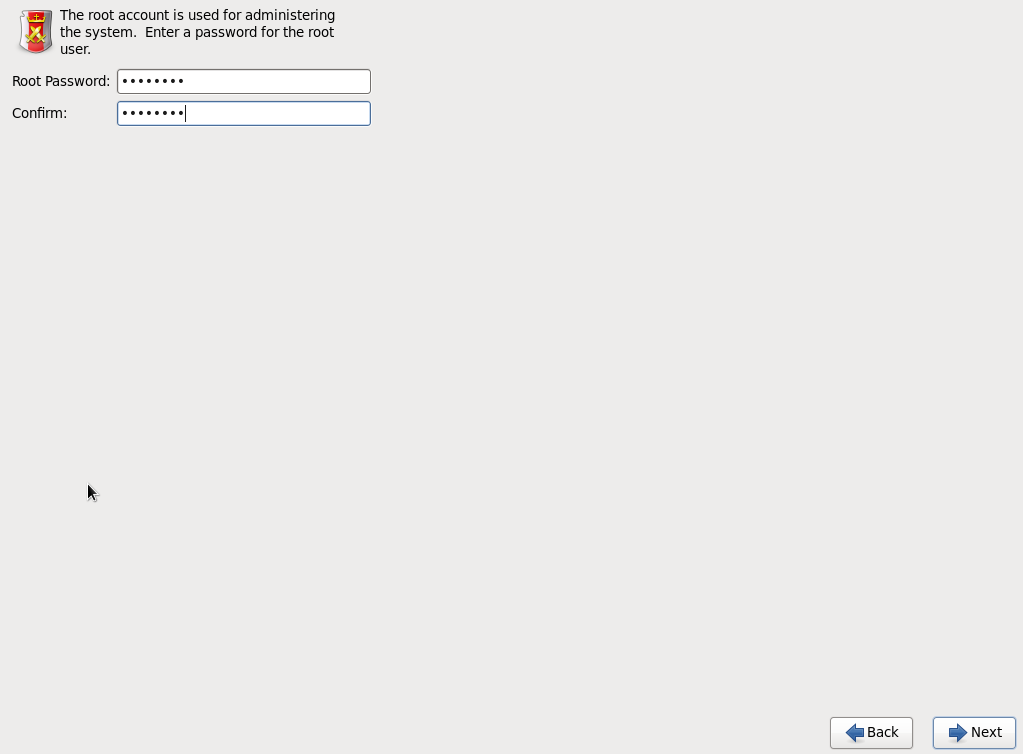
Set and confirm the root password
Click Next
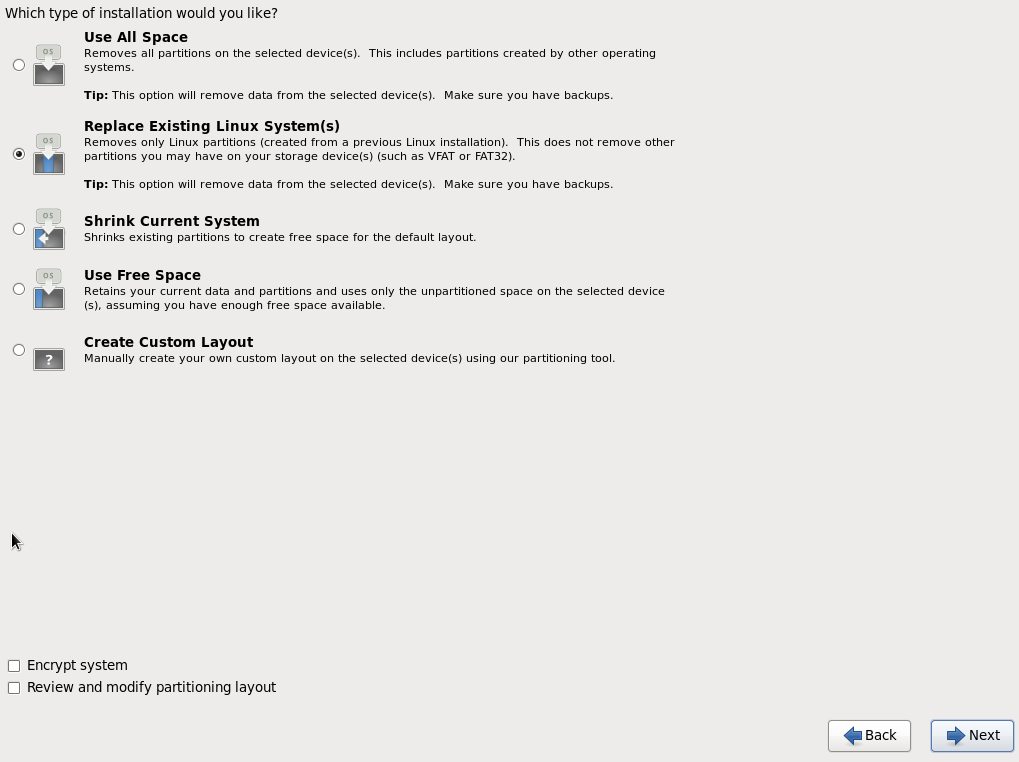
Choose Replace Existing Linux System(s)
If you have any custom partition requirements then check the selection to Review and modify partitioning layout
Click Next
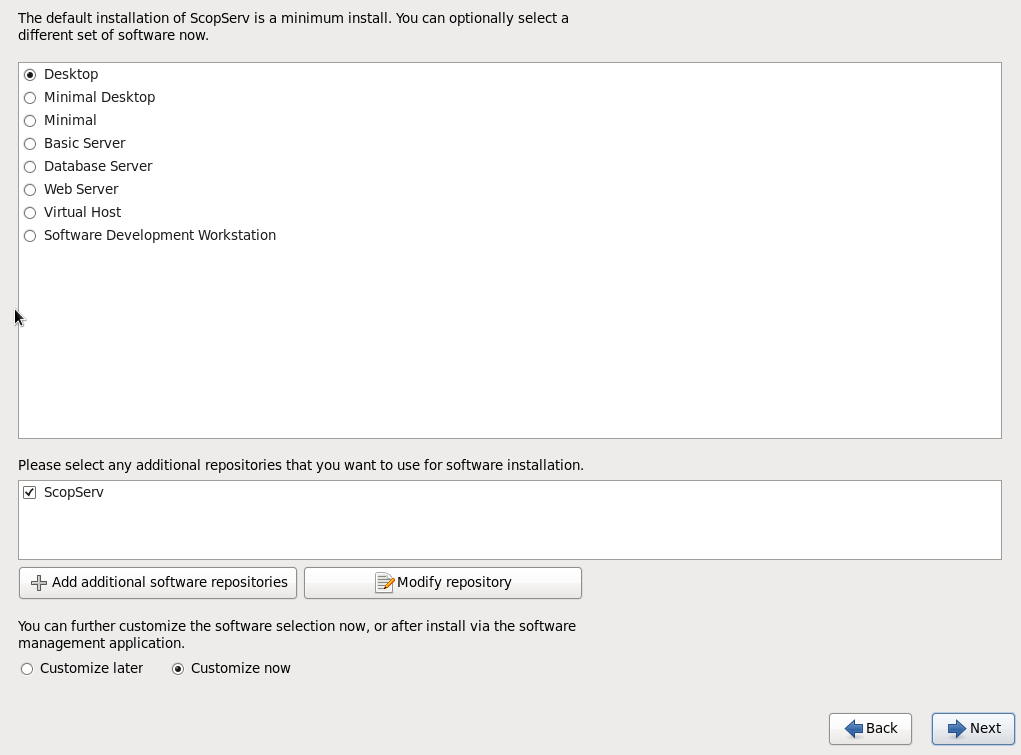
This screen is OK to use default values
Click Next
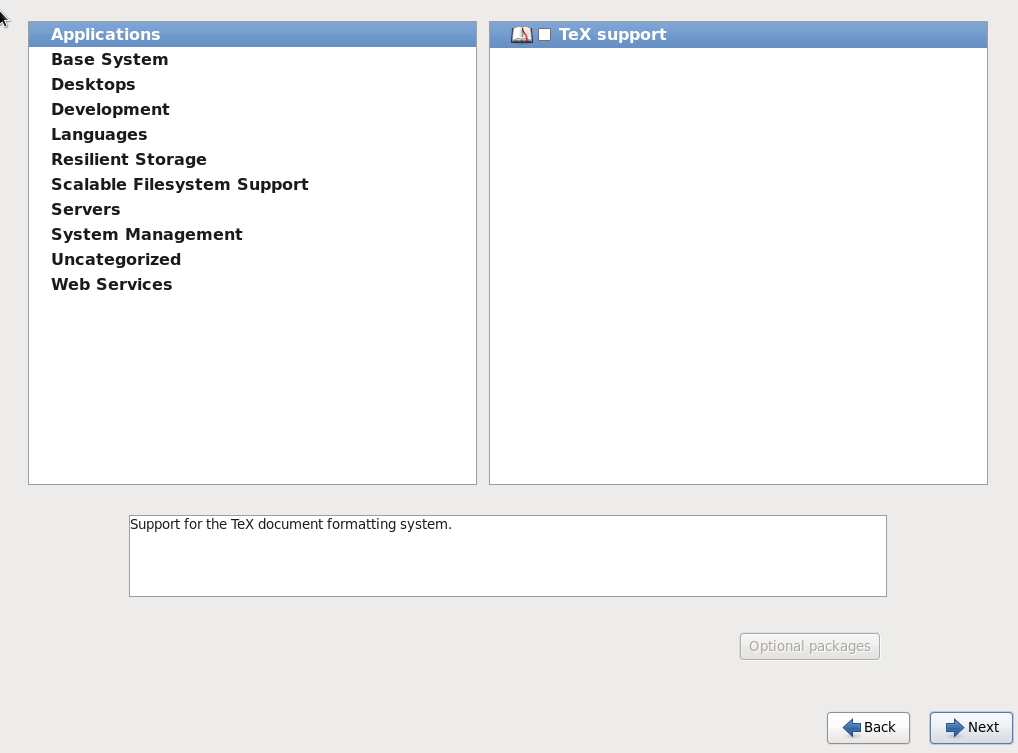
This screen is OK to use default values
Click Next
Your Operating System and Package installation is complete
Remove the installation media
Click on reboot

Post Installation
If you were upgrading an existing CentOS 5 installation: * The SCOPTEL CentOS 6 ISO installs by default version 6.x scopserv-reports and scopserv-realtime packages. * These packages no longer use a text based queue_log file to generate reports as did scopserv-reports and scopserv-realtime release 5 packages.
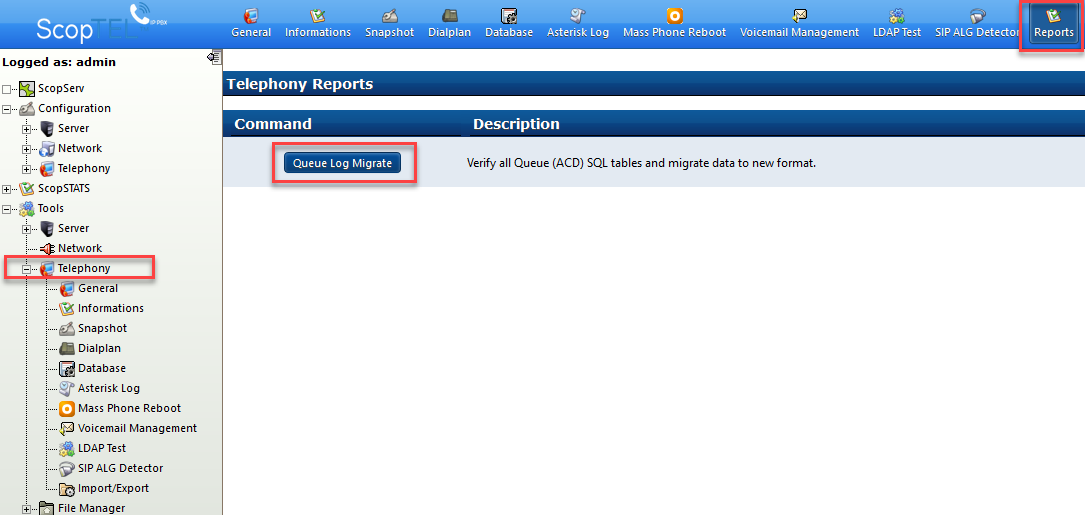
You will need to run the queue_log migration script to use new SQL tables required for Automatic Call Distribution reports in SCOPSTATS
It is recommended that you do this during non peak hours since the migration script can take a long time based on the amount of saved historical data.
Go to Tools>Telephony>Reports>Queue Log Migrate and click on the Queue Log Migration button to start the migration script.