SCOPTEL IP PBX Software - Server Installation Wizard
Network Module
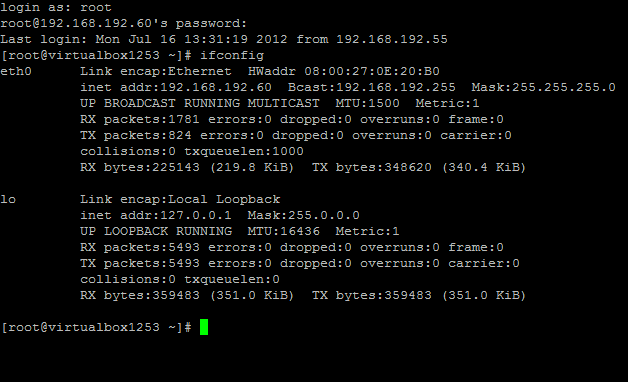
ifconfig
A newly installed server uses DHCP to get an IP address from a DHCP server on the network so make sure the eth0 interface is connected to the network so the server can get an IP address.
Before you can login to the server you must know the IP address of at least one physical interface.
From the Linux console login prompt, enter username
root.From the password prompt enter the default root password
scopserv.Once you are successfully logged as root type the command
ifconfigto determine at least one eth interface.In this example the eth0 IP address is 192.168.192.60 which is the IP address that will be used to login to the GUI later.
Also notice that the HWaddr is the MAC address of the eth0 interface.
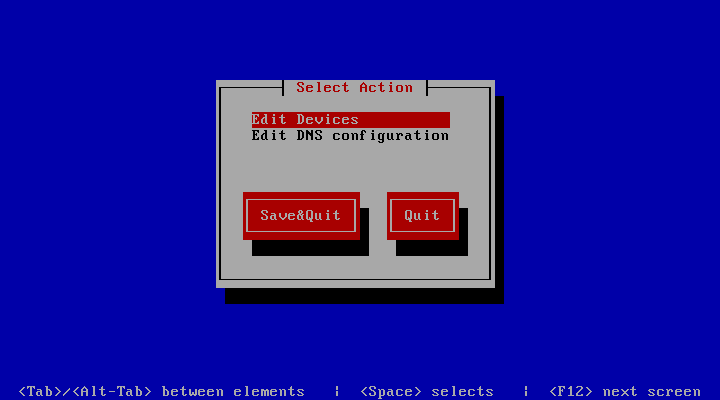
system-config-network
If there is no DHCP server on the network the server will not get an IP address.
Using the command
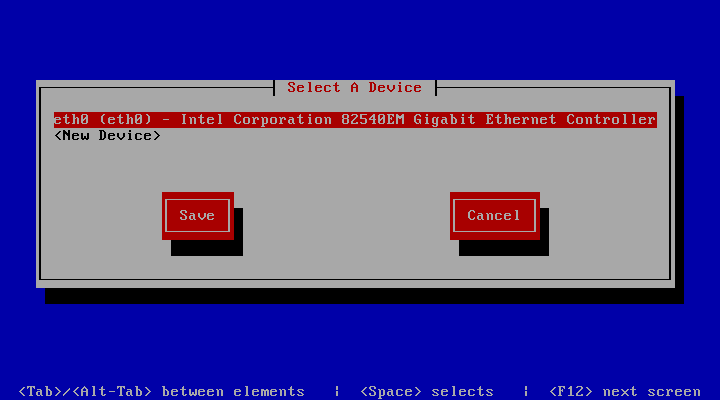
system-config-networkan IP address can be set statically and then used to login to the GUIUse the tab key on the keyboard to select Edit Devices
Use the tab key on the keyboard to select eth0 and press enter
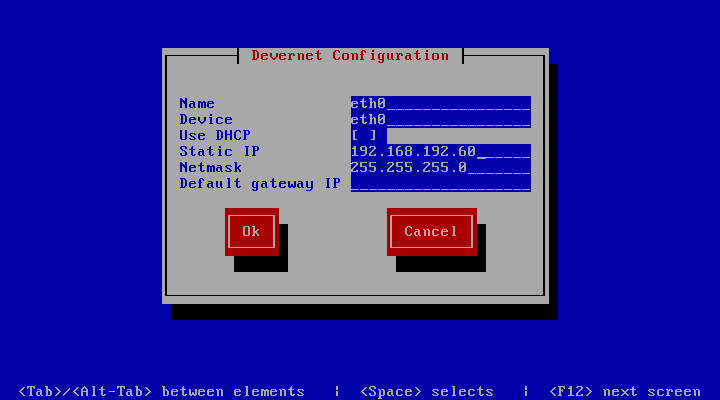
Use the tab key on the keyboard to select elements.
Use the space bar to uncheck or check DHCP.
Use the keyboard to enter a Static IP as in this example.
Use the tab key to select Ok.
Press Enter when finished.

Server Module
system-config-network
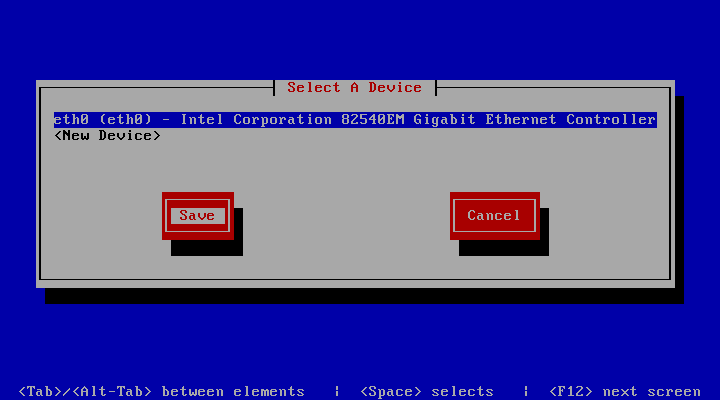
Use the tab key on the keyboard to select Save
Press Enter when finished
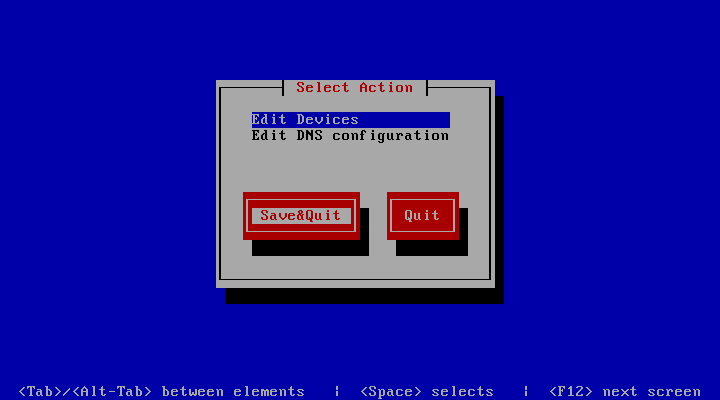
Use the tab key on the keyboard to select Save&Quit
Press Enter when finished
service network restart
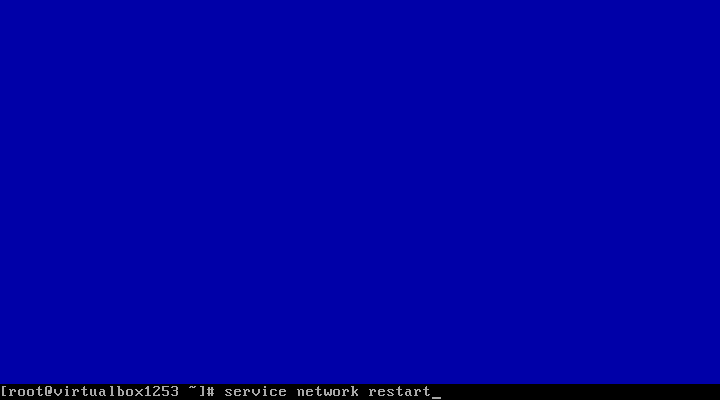
From the root prompt type service network restart to restart the network with the new static IP address.
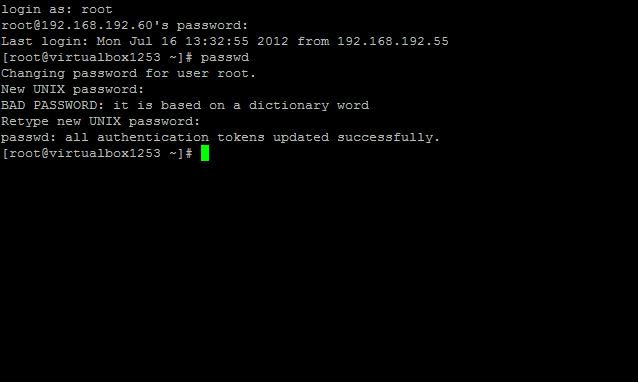
passwd
If you need to change the default root password (recommended) the enter the command
passwd.You will be prompted to enter your new password. twice to confirm the root password change.
If you forget this password you will have to have a keyboard and monitor attached to the server.
Interrupt the boot at the GRUB stage and boot to runlevel 1, AKA single user mode. Interrupt GRUB by typing a character such as “space” then append to the kernel line by typing “a”, backspacing through “rhgb quiet” and appending ” 1<enter>”. This will give you a root shell and not a login prompt. From there you can use the “passwd” command to set a new root password.
Web GUI Login
Open a web browser and use the IP address in the following format :
http://<ip address>:5555Where
<ip address>if the IP address of the server and the:5555is the listening port of the SCOPTEL web server.Example:
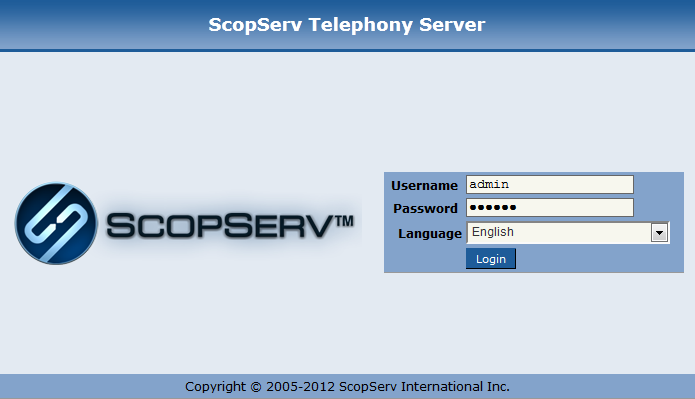
http://192.168.192.60:5555The default login username is
admin.The default admin password is
admin.
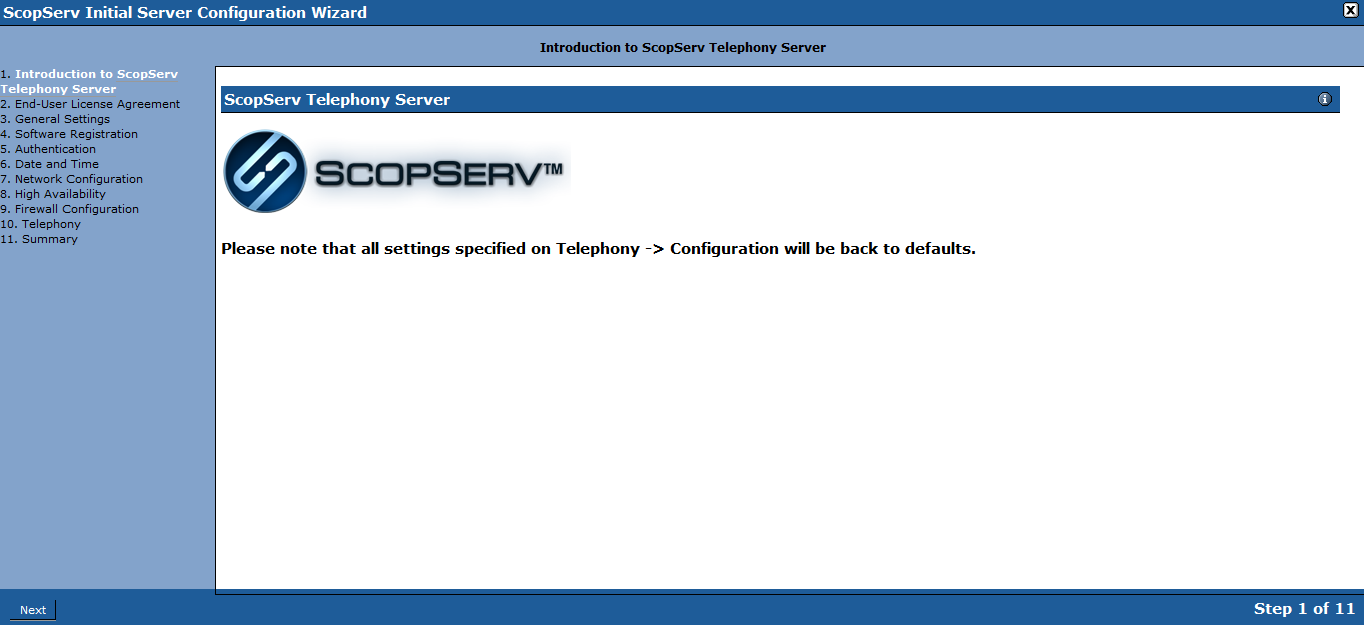
Configuration Wizard
Before proceeding make sure you have your server’s serial number handy so you can activate all of the menus and proceed with the configuration wizard.
If you have the serial number proceed with the wizard by pressing Next.
EULA
By clicking on Next on the EULA page you are agreeing to the terms of the SCOPSERV End User License Agreement.
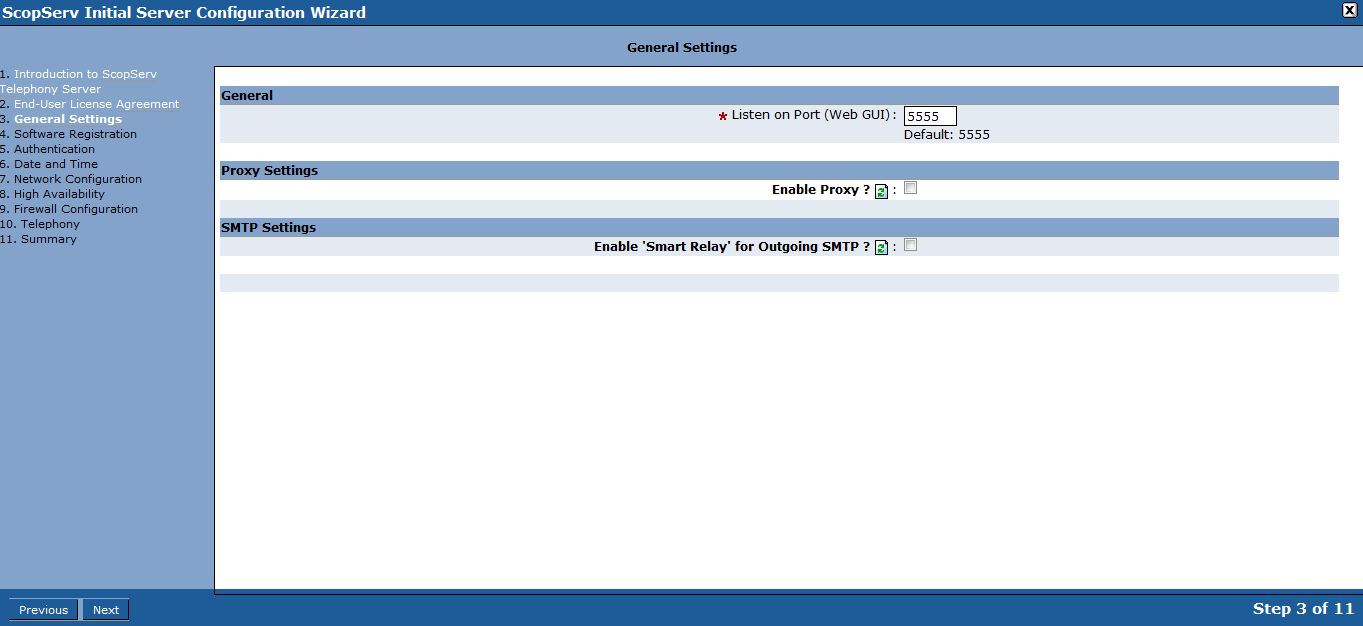
Listen Port
The default GUI listening port is 5555
Proxy information can be entered if the required Internet connection uses a proxy.
To send voicemail or fax to email using a third party email server tick the
Smart Relaycheck box and fill in the credentials needed to connect to the external email server.Click Next to proceed.
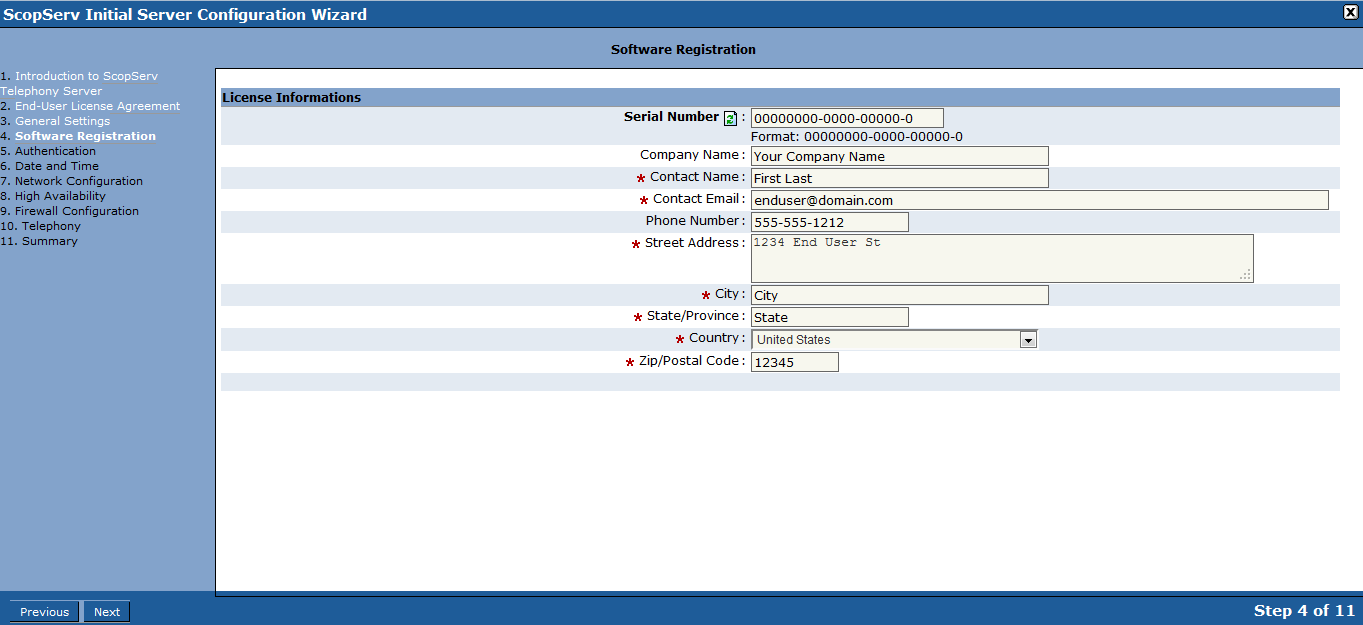
Registration Details
Enter the Serial Number purchased from SCOPSERV and system details.
Click Next.

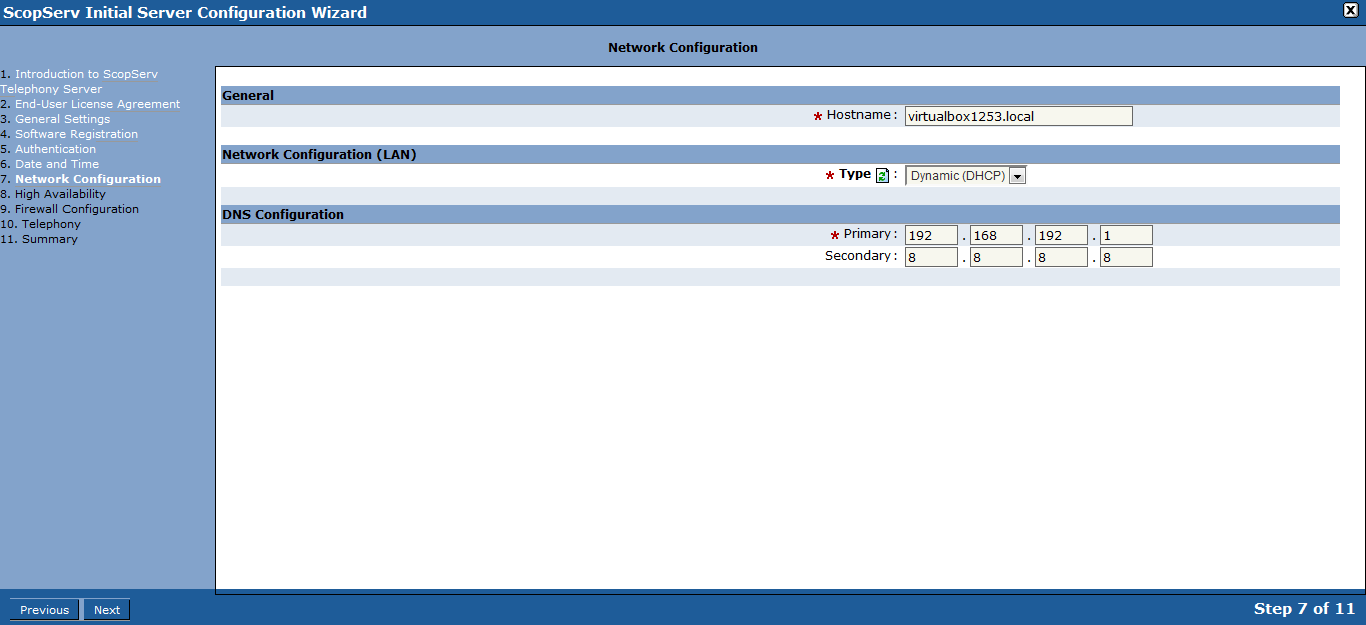
Network Configuration
Set the Fully Qualified Domain Name (FQDN) for the system.
Set the network configuration as DHCP or static for the system. Static is recommended.
Set the DNS server information for this system so the server can resolve domain names to IP addresses.
NOTE: The system is a fully capable DNS server and can resolve DNS for the network but a third party DNS server can also be used.
Press Next.
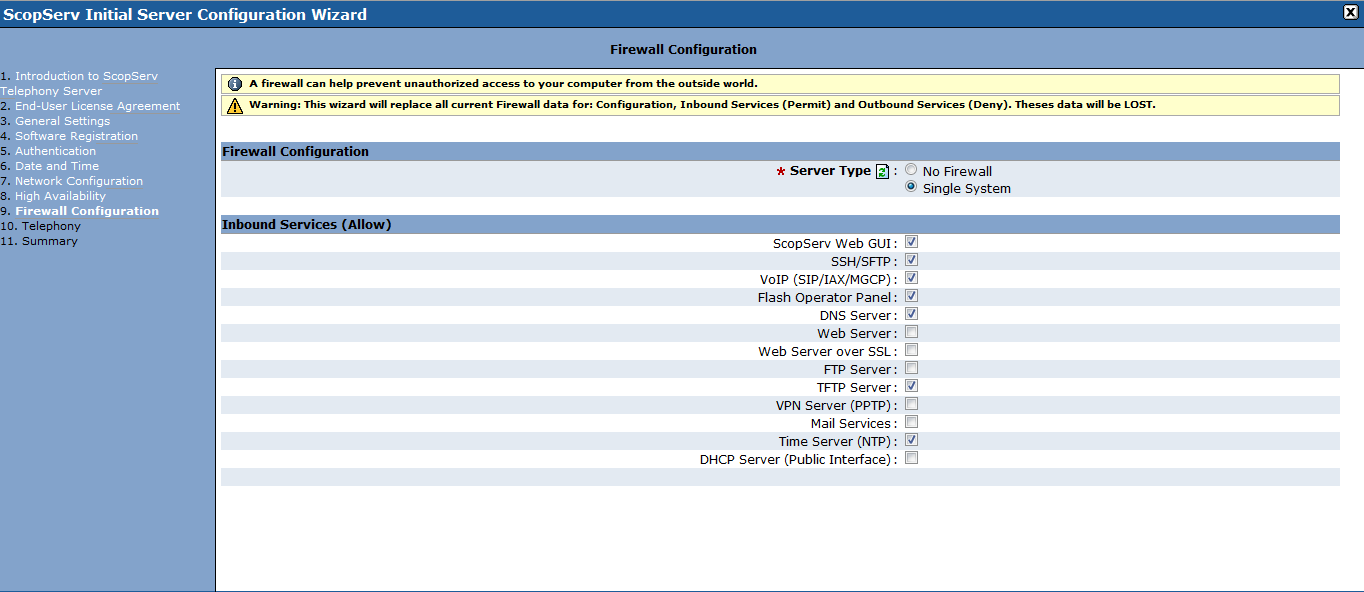
Firewall Type
Since this example system only has a single network interface there is no option to choose a firewall/gateway mode.
Choose single system to enable the firewall or no firewall to disable the firewall.
If a firewall mode is chosen tick off the options to allow desired allowed inbound traffic.
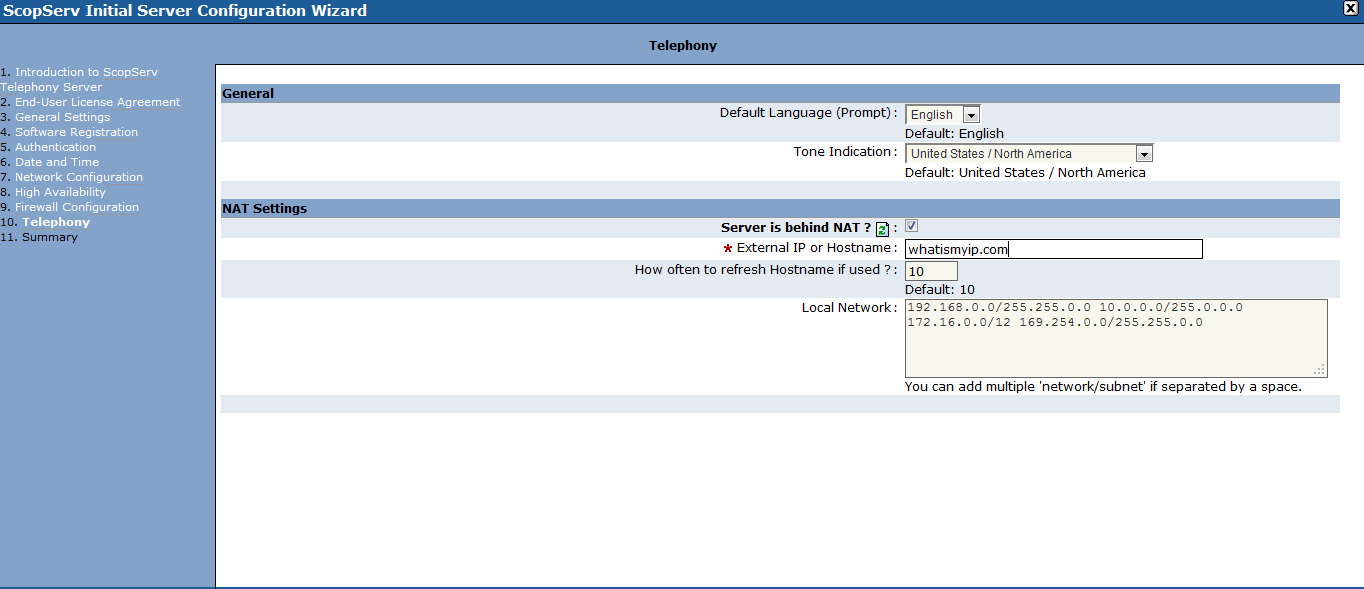
Locale
Choose the language type that best suits your country profile to set the local tones and cadences configuration that best suits your local telco.
The Server is behind NAT option is configured if the server is behind a third party NAT router. This setting manipulates SIP traffic to work behind the NAT router using the internal Session Border Controller (SBC).
NOTE: If the server is behind NAT then ensure that the external firewall port forwards the TCP/UDP ports to the static IP address of the server.
Port examples:
UDP/TCP 5060 SIP signaling
UDP/TCP 10000-20000 SIP RTP traffic
UDP 4569 IAX2 signaling and RTP traffic
TCP 22 SSH management
TCP 5555 SCOPTEL GUI
UDP 123 NTP
UDP 69 TFTP provisioning
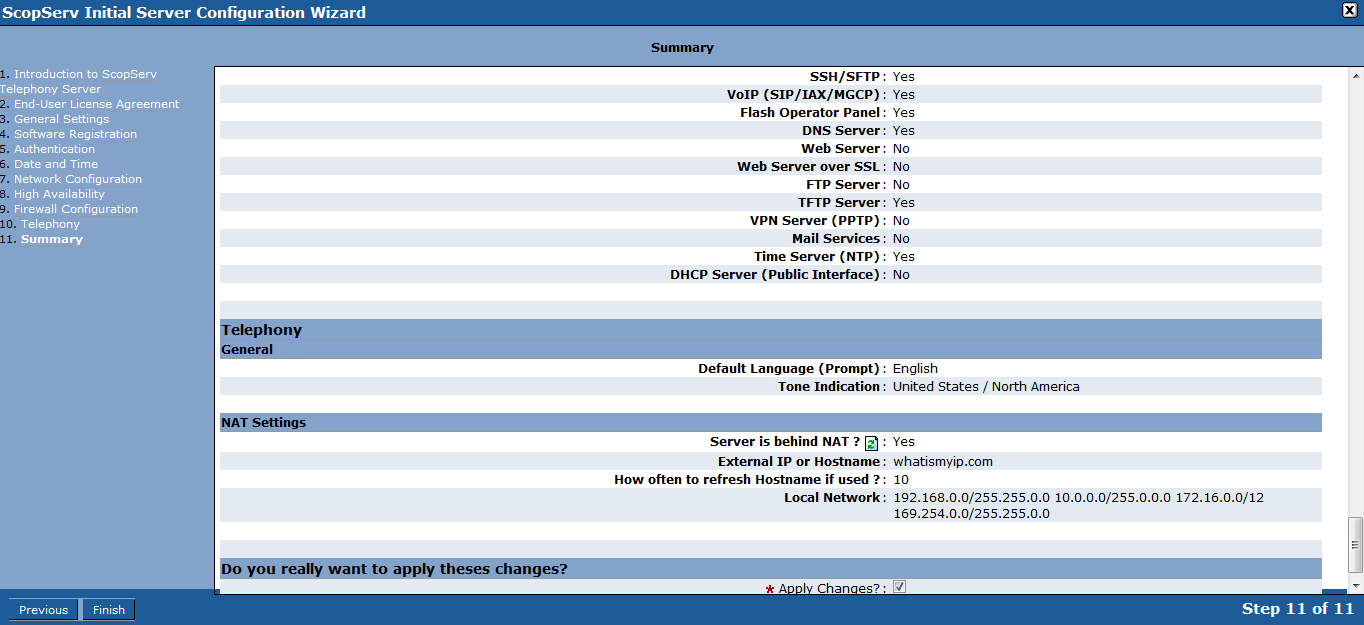
Apply Changes and Reboot
Review changes and tick on Apply Changes.
Click Finish.
Reboot Server when prompted.
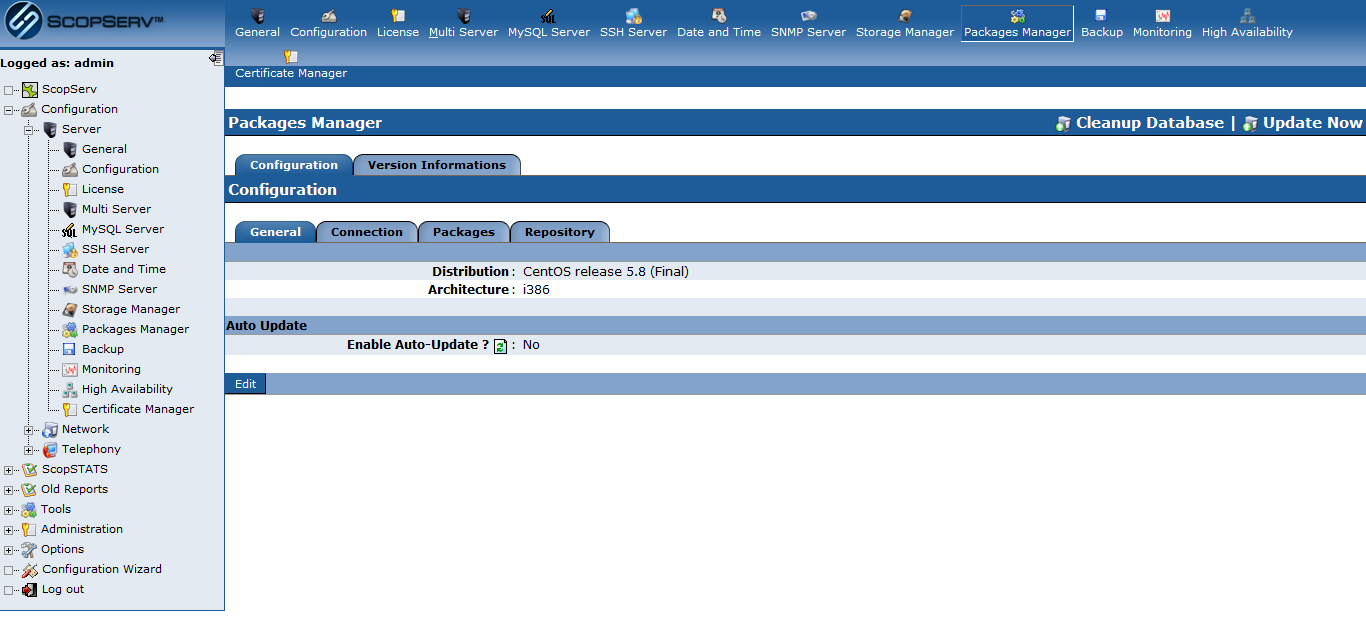
Update After Reboot
Once the server is rebooted login again (use the new IP address if the ifconfig address was changed).
From the Configuration>Server>Packages Manager menu tree click on the
Update Nowlink to upgrade all of the system packages.
Update All Packages
Be patient while all updates are fetched and applied by the server.
NOTE: If the annual software maintenance agreement is not current for the system serial number then no SCOPSERV updates will be fetched.
Telephony Module
Commit and Restart Asterisk
If the SCOPSERV-telephonyX packages are updated then you will have to do a full commit on the Configuration>Telephony>Configuration page.
If any Asterisk packages are updated then you will have to restart Asterisk from the Configuration>Telephony>General>Restart Telephony page.
** NOTE: Always do a full commit before restarting Asterisk/Telephony Server. **